When you need to visualize the tensors estimated by the DTI track module, you must first save
them from thr DTI track module, see related documentation for more details).
You can then load them in the tensor viewer module by clicking ``Open a tensor field''. It
can take a little while before the tensor field is fully loaded.
Then you may need to press ``center'' to center the view on the tensors in the 3D window
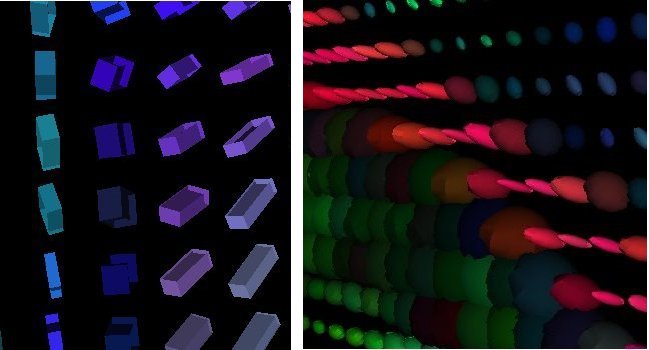
(see figure 4.1). You can choose between different visualization
modes to display the tensor field. Figure 4.2 explains these
different modes. Default setting is ``cubes'' mode. It will represent tensors as
rectangular rhombs. For all modes, the main diffusion direction of the tensor is shown
thanks to a RGB color code, and brightness is weighted by the Fractional Anisotropy (FA)
of the tensor. You can downsample the displayed tensors for faster rendering.
NB: The ``ellipsoids'' needs more RAM memory of your computer than the other modes.

|