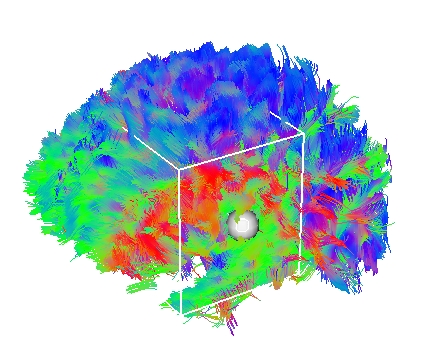
Once fiber tracking has been performed, you will see a cropping box surrounding the set of
fibers. This box can be used to extract a specific bundle. Indeed, only the bundles going
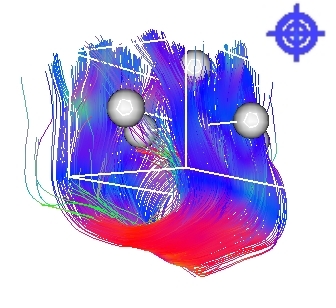
through the cropping box are displayed (see Fig. 3.11). You can
manipulate the cropping box thanks to control points located on the edges of the
box. Left-click on one of them to resize it by moving the mouse. When left-clicking on the
center point, you can translate the box. Right-clicking somewhere on the box and moving
the mouse up or down allows you to enlarge or squeeze it. See Sec. 3.3.2 for
other tips on the cropping box manipulation.
![]() The main purpose of this box is to extract a specific bundle. For that you can use the
cropping box in a recursive manner : In the Fiber Manager panel (see Fig. 3.14), you will find the ``Tag''
button. Clicking this button fixes the current selection (bundles currently
displayed). You can then move the cropping box once more to select more specifically your
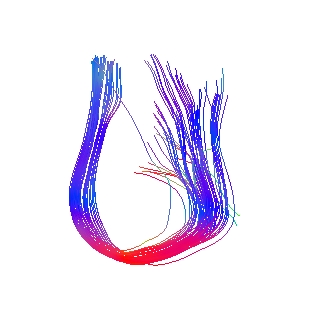
bundle of interest (see Fig. 3.11, right). You can ``tag'' again the
selection, etc...
The main purpose of this box is to extract a specific bundle. For that you can use the
cropping box in a recursive manner : In the Fiber Manager panel (see Fig. 3.14), you will find the ``Tag''
button. Clicking this button fixes the current selection (bundles currently
displayed). You can then move the cropping box once more to select more specifically your
bundle of interest (see Fig. 3.11, right). You can ``tag'' again the
selection, etc...
![]() If you need to recover the entire set of reconstructed fibers, you may use the ``Reset
Tagging'' button. It will automatically display all the bundles that go through the
cropping box. The cropping box will then act in a normal way.
If you need to recover the entire set of reconstructed fibers, you may use the ``Reset
Tagging'' button. It will automatically display all the bundles that go through the
cropping box. The cropping box will then act in a normal way.


|