 |
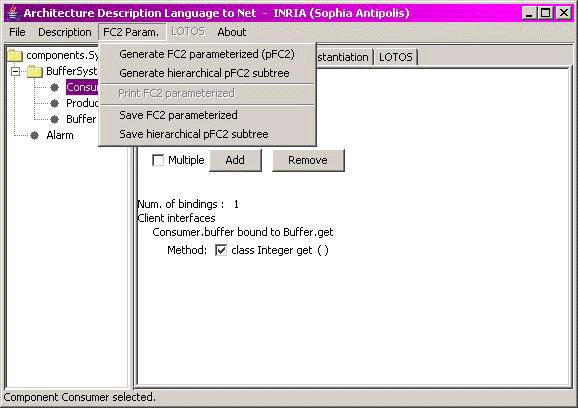
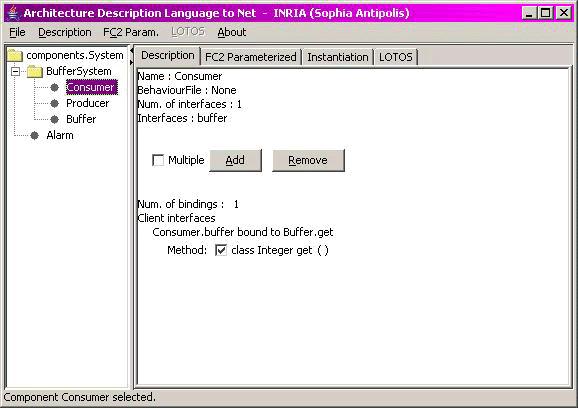
The main window is composed by three sections as seen in figure 2: the menu on top, the hierarchical tree on the left and tabs in the main frame.
The available menus in the application are: File, Description, FC2 Param, LOTOS and About.
This feature is still under construction.
Shows the system structure as a tree. The user may select a component and see its description in the main frame (figure 2) or generate either FC2 or LOTOS code.
Within the description, the user may see the component name, the behaviour file (LOTOS filename if it is a primitive component), its multiplicity and the attached interfaces.
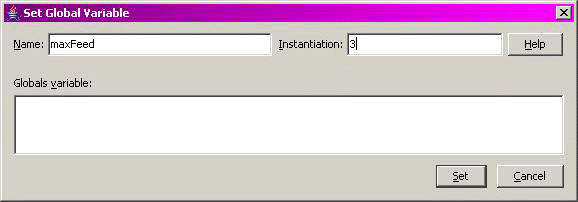
In the same window there is a list of currently defined variables. If one is selected, the new variable will be created as its alias, i.e., both variables will be given the same instantiation.
Shows the generated FC2 code with the latest selected option from the FC2Param menu.
For each method shown in the description, it is possible to define if it will be visible or not (in the FC2 translation). If a method is visible, its synchronisation vector will be labelled with a non-internal action, whereas if invisible it will be internal (tau). By default all methods are visible.
The communications and synchronisations will still happen as usual for the invisible methods, but the user will not be able to see them as they are considered internal actions. This allows the various model-checking tools to minimise the resulting automata and remove many unwanted intermediate method calls not relative to the property the user may be seeking to prove. Remember to always choose a proper abstraction to keep the model as simple as possible, otherwise you are very likely to have the state-explosion problem.
It is possible to define which arguments will be visible. If the argument is visible, it will be included in the FC2 code. By default all arguments are hidden (invisible).
When unchecked, the arguments will not be included and should be considered as a simplification to the model. By combining the visibility strategies of the methods with their arguments, the user may tackle more realistic models while letting the model-checkers find more human-readable counter-examples.
To set the method's multiplicity, the multiple checkbox must be selected (if not checked) or click the 'Add' button. A new window will appear as seen in figure 7, on which the variable name and value must be specified. A default value will be suggested. To accept the new instantiation click on 'Add'. The recently created variable can now be seen in the component description.
The name pattern must contain only letters or the '_' symbol, and must start with a letter.
Valid name: var, var_a
Invalid name: _var
There are 4 instantiation types:
For information on the latest releases, updates and papers please visit
http://www-sop.inria.fr/oasis/Vercors/index.html
or send us an email to vercors
< at > sophia.inria.fr. This is the first version of the program, therefore any comments are welcomed.